
DIY Tie Dye
Tie-dye has long had a crunchy nomadic reputation. There’s that good ole fashion hippy-dippy kind, done in a bathtub with dyes from who knows where. And lately, there has been a surge of elevated tie dye everything that inspired me to do my own. These at-home DIY kits that are sky rocketing on the internet, take a few hours to complete, so set aside the time and get creating. The DIY tie dye approach – which comes packed with goodwill-incentives is the perfect stay-at-home style trick to while away your time. What could be bad about learning a new skill and bring some fresh technicolor into your wardrobe in the process?

While tie dye had a brief renaissance in the ’90s (when surfer style and band tees ruled), we still often think of the dye job as being associated with the hippy moment in the ’70s. But don’t let this put you off. You can bring the fun-loving, free-spirited pattern into your wardrobe, and still have it feel contemporary. More importantly, check out the mass market T-shirts in swirls of clashing toxic greens and highlighter oranges.The good news is that this age-old hand dying technique is simple to recreate. As well as being totally individual, the DIY element will add a real personal touch to your wardrobe. Plus, once you master the how-to, tie dye can adorn a multitude of garments. Here is my step-by-step guide on how to tie dye.
What you will need:
Tee shirts, sweatshirts, or basically anything white. I used a pack of Hanes tee shirts here. I also ordered white sweatshirts, and plain white socks to try out.
Colored dye. I purchased a bunch from Amazon and either the powder form or the liquid both work well.
Challenge your inner artist and roll or twist the fabric into knots to create swirls, bullseye designs, etc. I recommend using rubber bands to hold the shape together.
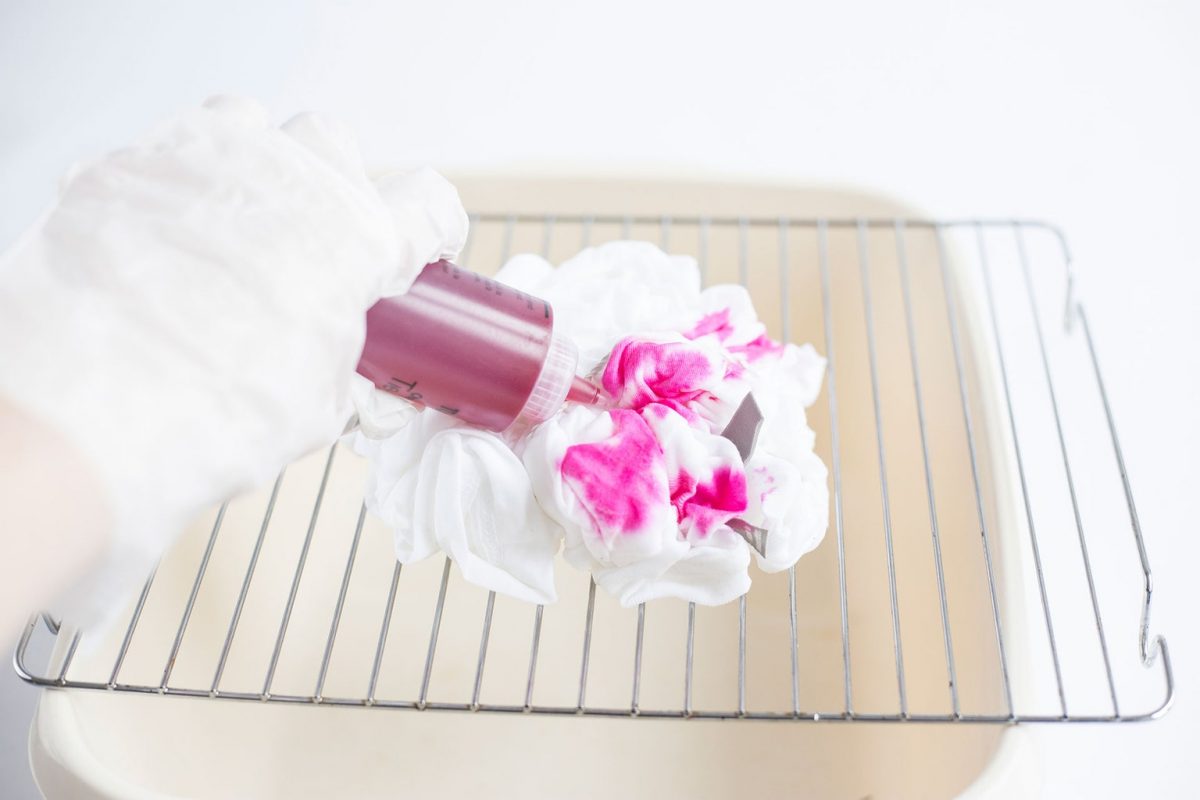
Photo British Vogue
Take These How To Steps for a DIY Tie Dye
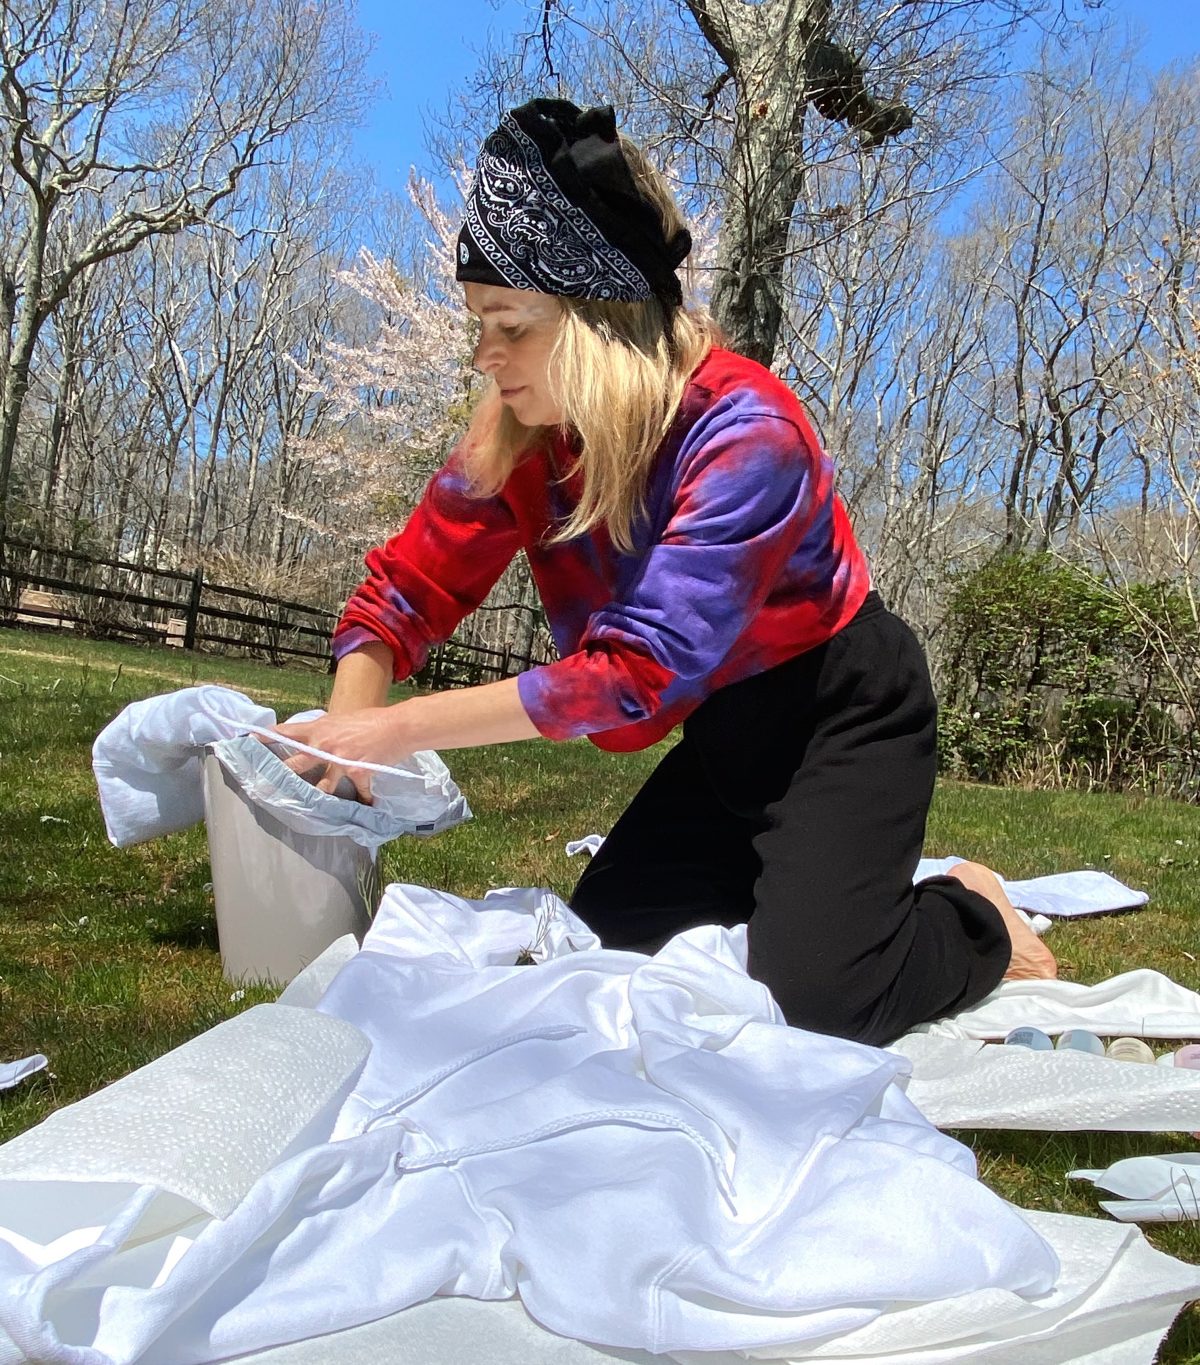
Make sure you’re wearing old clothes, in case of any splashes. I wore a tie dye top and black sweats. Fill your plastic dish with water and allow the T-shirt to soak for five minutes.
Ring the water from your tee, so it’s damp rather than soaking.
I opted for a super-simple ‘crinkling’ technique to achieve a cool acid wash tie-dye look. To do this, pinch sections of your t-shirt together with your fingertips, until it is looking much smaller and wrinkled in all areas.
Pour the desired liquid into the bottle. With trial and error I realized that the more water you add, the lighter the color.
Next, squish your T-shirt together (keeping the wrinkled shapes as best you can) into a ball. Wrap two or three elastic bands around to keep the ball shape in place. The elastic bands will also add their own unique pattern, as the dye won’t penetrate where they lie.
Place your T-shirt on the wire rack, over the plastic dish. This will allow any excess dye to run off into the dish.
To mix your dyes, always follow the instructions specific to the brand you choose. Our bottles were pre-filled with coloured powder, meaning we only had to add water. Dye only remains at 100 per cent strength for about 45 minutes after mixing, so do only add water when you’re ready to use.
Put on your gloves and starting with your first colour, make small deposits of dye at random points all over your T-shirt. Make sure you can still see some of the white, but remember to place your bottle’s nozzle between the folds of the fabric too, for the best coverage.
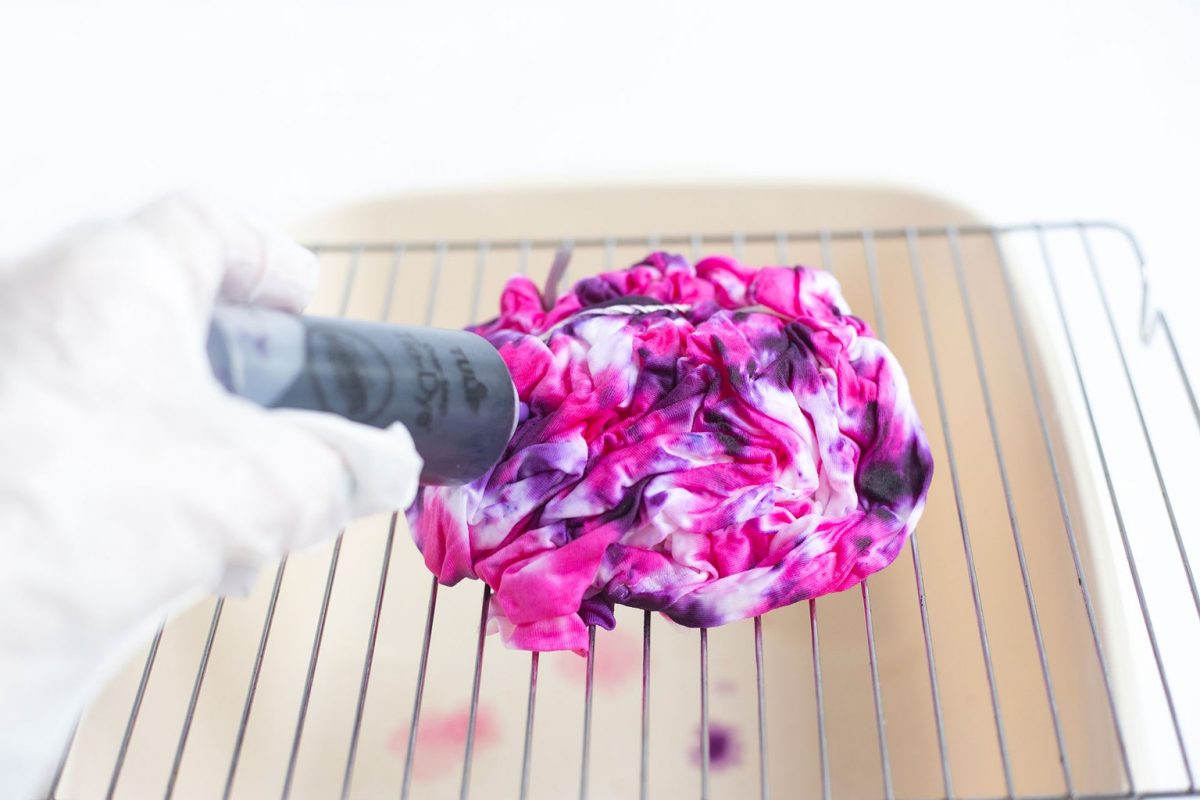
Repeat step seven with the next shades. Colors may slightly blur into each other if they overlap, but it’s all part of the tie-dye effect. Leave some areas of white to achieve that acid-wash effect.
Turn your T-shirt over and repeat until the entire T-shirt is covered to your liking.
Allow the excess dye to drip off, then wrap your T-shirt in cling wrap or just let it sit. This will ensure it stays damp as the colours develop.
The longer you leave your dye on the fabric, the more vibrant the colors will look. For a faded pastel shade, leave the dye on for 4 hours. If you’d like yours brighter, you can leave it for up to eight hours. Leaving it somewhere warm is preferable as it helps the dye develop.
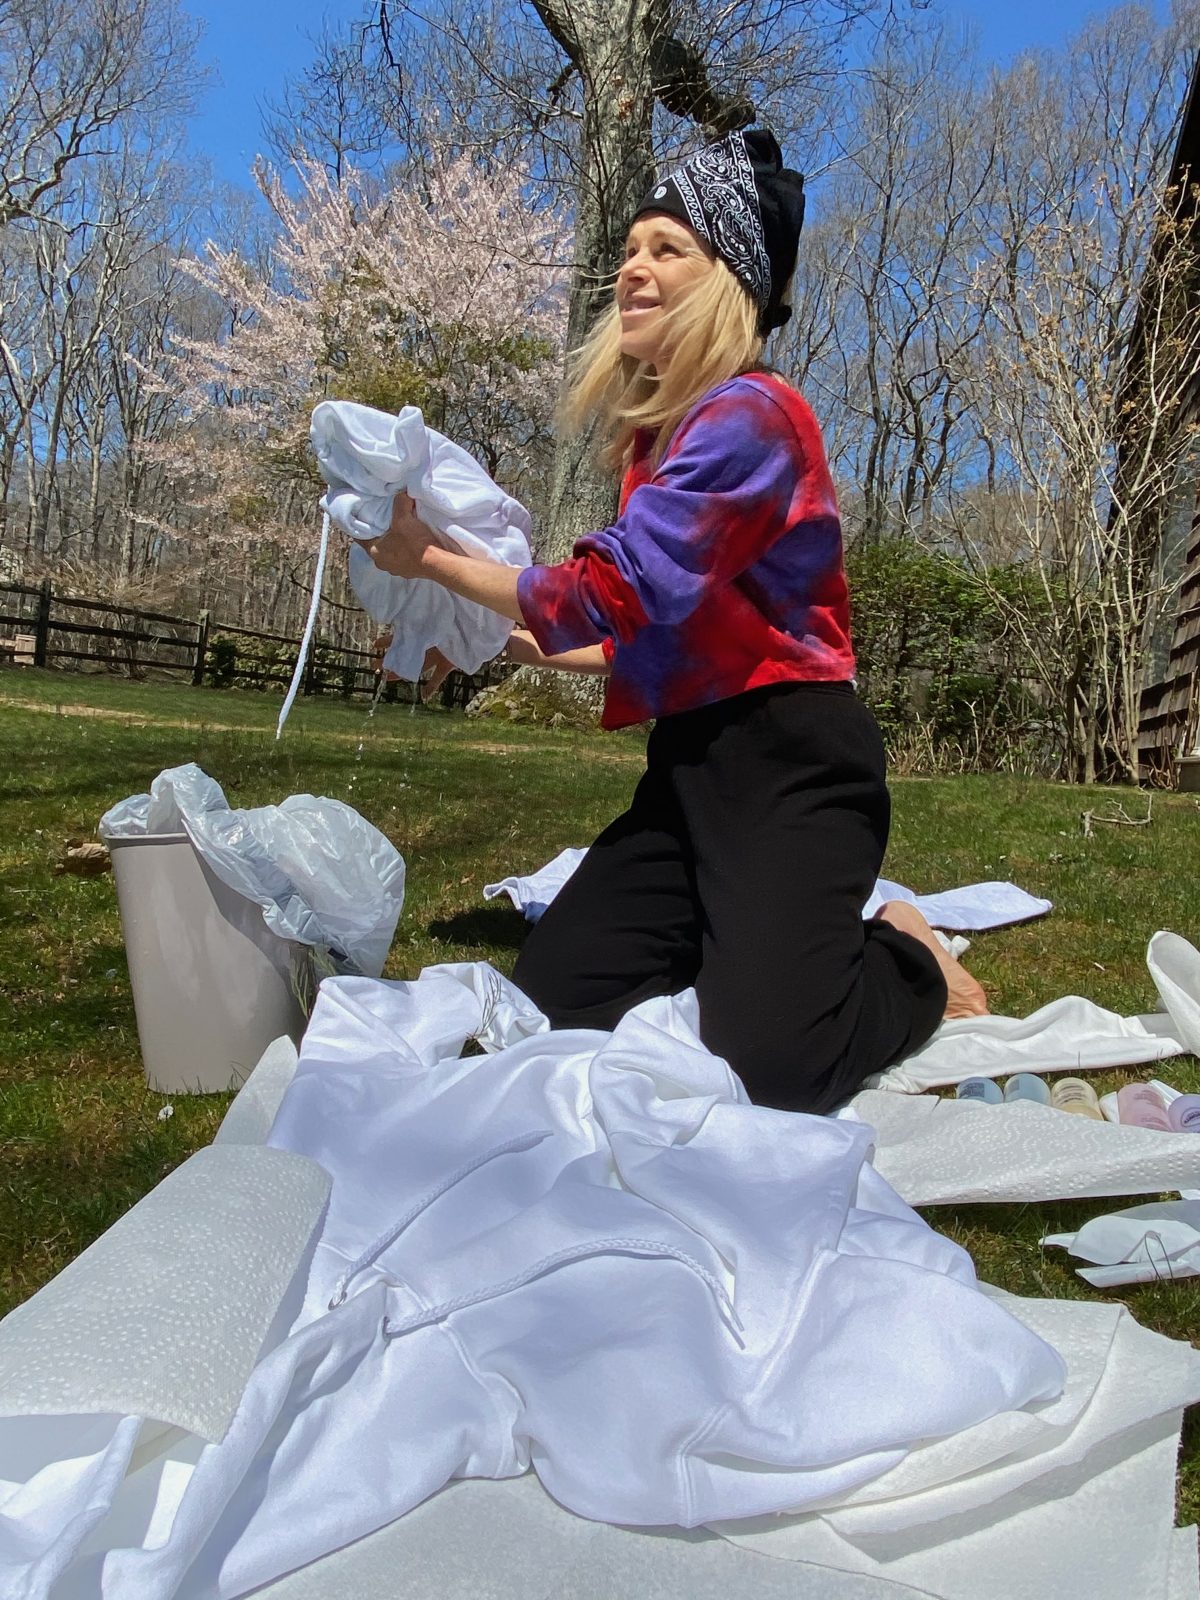
After your desired developing time is up, unroll your tee and rinse it under hot water until the water runs clear.
Pop your T-shirt into the wash, on a warm setting. For your first few washes, wash and dry the T-shirt separately from other clothes, to avoid any bleeding of colour.
The Result
The end result is all about your creation and what you want it to look like. Granted, you really can’t control exactly how it comes out which is part of the beauty of this art. Remember, no two prints are the ever the same so your garment is unique to you.
Here is the sweatshirt that I made. If you aren’t inclined to take on this task, there are plenty of options out there to buy and support small businesses!
Shop the Look